Grow Garlic from Just One Clove: Easy Steps for a Big Harvest
Growing garlic from one clove is simple and works even in small winter gardens. You don’t need much. Just a clove, cool soil, and time. The secret to getting big bulbs is planting in fall or early winter, when the cold helps the clove split and grow strong.
This guide walks you through the basics so you can turn a single clove into your own fresh garlic.
1. Pick a Healthy Garlic Clove
Start with a firm, plump clove that has smooth skin. Soft or shriveled cloves won’t grow well. Pick the largest clove from the bulb because it often grows into a bigger head.
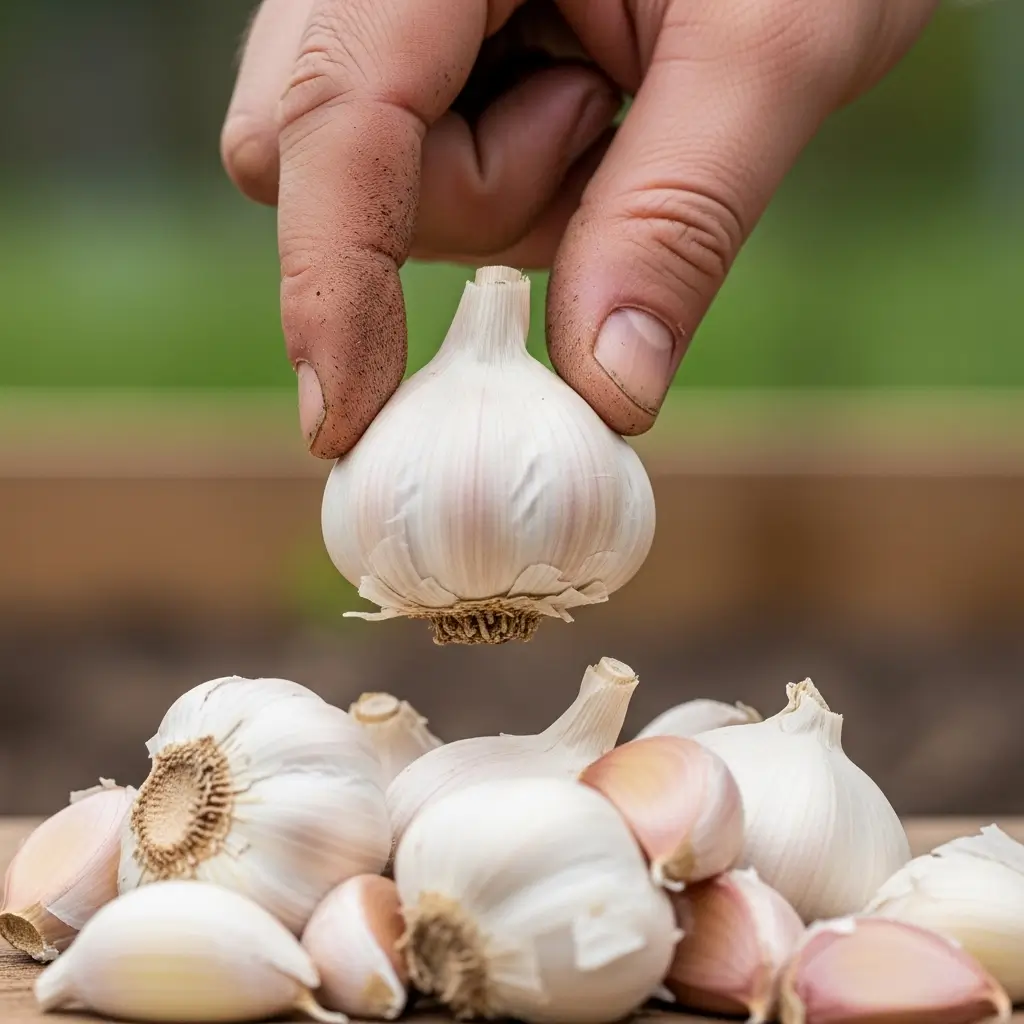
Take a little time to inspect each clove. It’s worth it. Healthy cloves give you a better start and fewer problems later.
Even if you only have one bulb, choosing the right clove can make the difference between a small harvest and a big, satisfying one.
2. Use the Right Soil
Garlic grows best in loose, well-drained soil. Heavy or clay-like soil can hold too much water, which may rot the clove. Mixing in some compost makes the soil softer and more fertile.
I’ve learned that garlic doesn’t like to sit in soggy soil, especially in winter. Preparing the soil carefully at the start saves you trouble later.
A small patch with good drainage is all you need, and the clove will happily grow roots and shoots without extra fuss.
3. Plant at the Best Time
Timing is important for a big harvest. Plant garlic in fall or early winter, usually from late October to early January, depending on your area.
The cold helps each clove divide and form multiple cloves underground. Garlic actually thrives in chilly soil. If you plant too late, the bulbs may stay small.
I’ve had the best results when I plant before the deep freeze, letting winter slowly do its work while the clove establishes strong roots.
4. Plant the Clove the Right Way
Place the clove in the soil with the pointed side up. Push it about 2 inches deep and cover it lightly with soil. Space about 4–6 inches apart so each clove has room to grow into a full head.
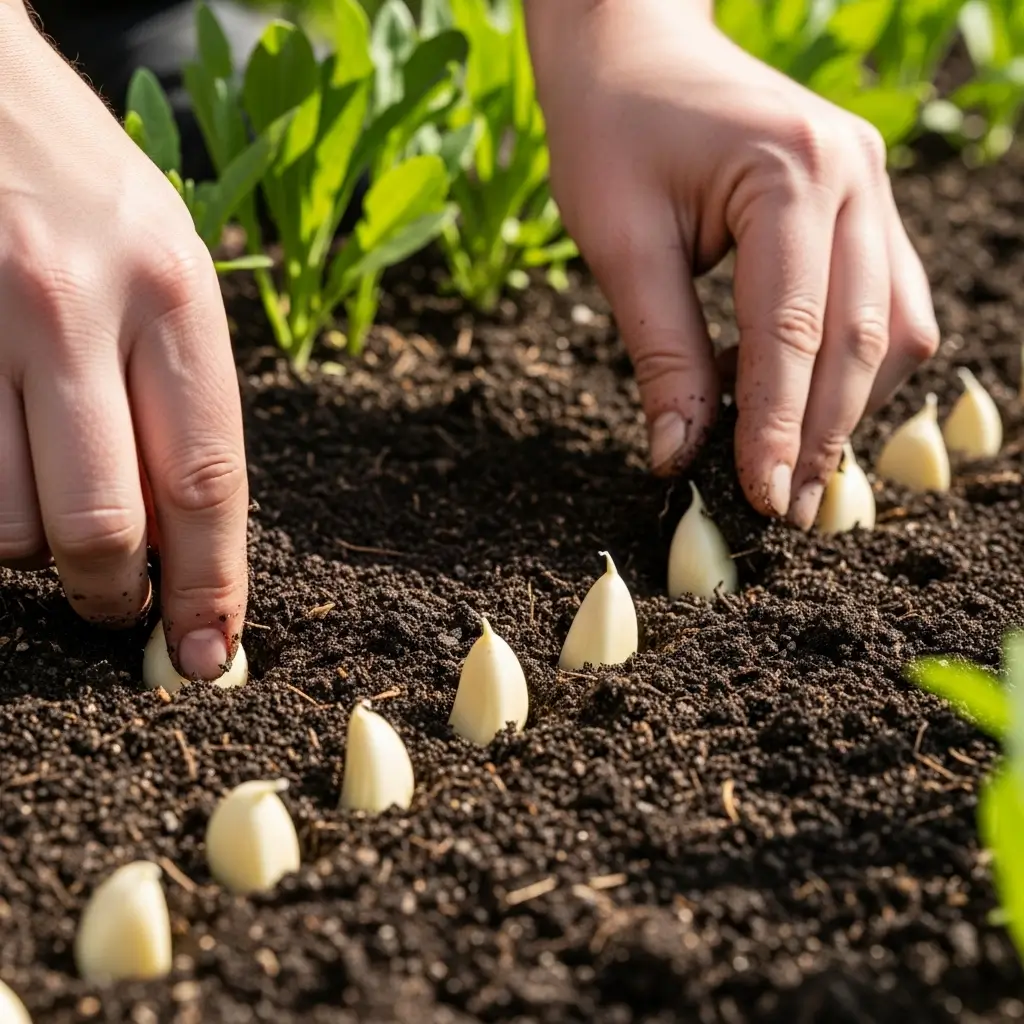
Press the soil gently so it holds the clove in place. This small step makes a big difference because a clove that’s not planted correctly may struggle. Getting the angle and depth right ensures the shoots grow straight and healthy.
5. Water Lightly
After planting, give the soil a gentle watering. Keep the soil slightly moist, not soggy. In winter, you may need to water less because rainfall and cold air usually keep the soil damp enough.
Overwatering can rot your clove, so it’s better to check the soil with your finger before adding water. I usually water once a week or whenever the top inch feels dry.
Garlic doesn’t need constant attention, but a little care early on helps roots grow strong.
6. Let Winter Do the Work
Once planted, garlic mostly grows on its own. The cold winter soil helps build strong roots and prepare the clove for spring growth. This is why planting in fall works so well.
This part is lovely because it’s hands-off. No constant watering or fussing, just letting nature do its job.
By the time spring arrives, your clove has already formed a small, healthy root system ready to push up green shoots.
7. Watch for Spring Growth
In early spring, green shoots start poking through the soil. This is exciting because you can actually see your garlic coming to life. Make sure the soil stays lightly moist and pull any weeds nearby.
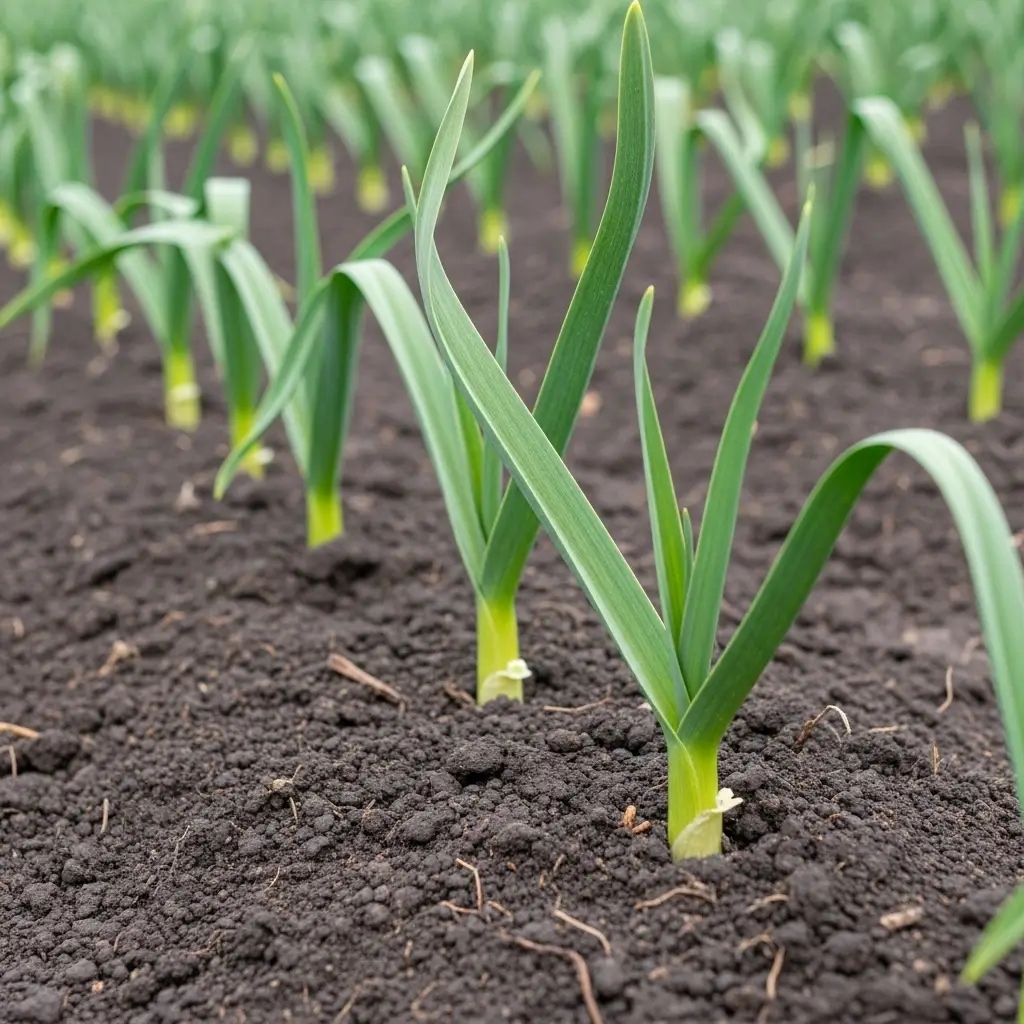
Garlic grows better when it doesn’t have to compete for water or nutrients. Check once a week to keep the area tidy.
Watching the shoots appear is a small reward for planting in winter. It’s the first sign that a single clove is turning into a full bulb.
8. Feed the Plants
In early spring, add a small amount of compost around the base of each clove. This provides extra nutrients while the bulbs are forming underground. I do this once, and that’s usually enough.
Garlic isn’t a heavy feeder, so you don’t need complicated fertilizers. The compost keeps the soil loose and nourished, which helps the bulbs grow bigger and stronger.
Feeding at the right time is a simple step that improves your harvest without much effort.
9. Know When to Harvest
By early summer, the leaves start turning yellow. This is your signal that garlic is ready. When the lower leaves dry but the top ones are still green, carefully dig up the bulbs.
Avoid pulling by the stems to prevent breaking the garlic. Harvesting at the right moment ensures the bulbs are firm and full.
Take your time here, gently lifting each head from the soil to avoid damage. Freshly dug garlic smells amazing and feels satisfying to hold.
10. Cure for Better Flavor
After harvesting, lay the garlic in a dry, airy spot for about two weeks. This dries the outer skin and enhances the flavor. You can hang the bulbs or lay them on a wire rack.
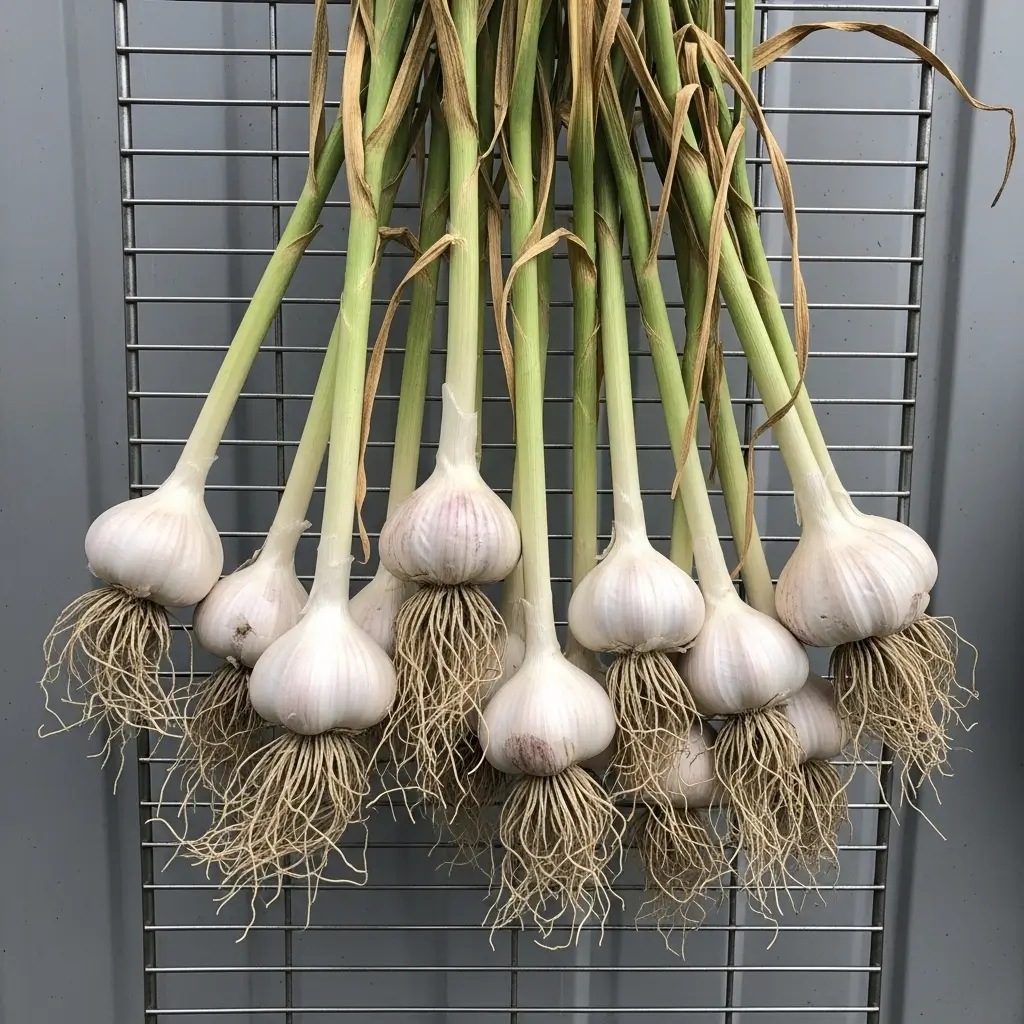
Curing also helps garlic store longer. Once dry, trim the roots and cut the stems if you want. Your garlic is now ready to use in the kitchen.
Homegrown garlic tastes richer and more flavorful than store-bought, and it all started with one single clove.
Final Thoughts
Growing garlic from a single clove is simple, rewarding, and perfect for small winter gardens. With just a little care and the right timing, you can enjoy fresh, flavorful garlic from your own backyard.
Each step, from picking the clove to curing the bulbs, helps ensure a bigger, healthier harvest. It’s satisfying to see how one tiny clove turns into a full head of garlic. Give it a try this season, and enjoy the taste of homegrown garlic in your meals.